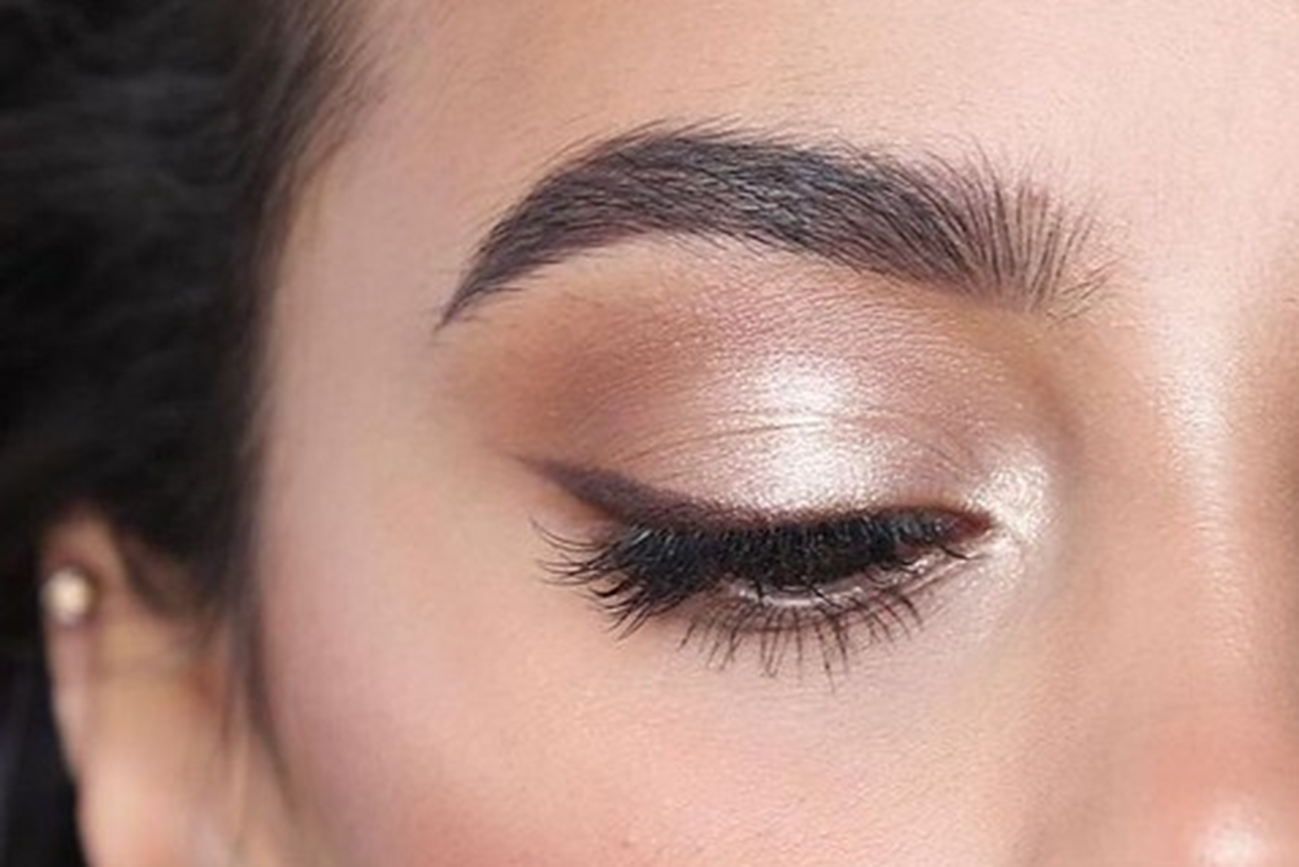
Let’s make one thing very clear: your brows are not an afterthought. They’re the silent frame to your entire face—the unsung hero of your makeup routine. Done right, they balance features, open the eyes, lift your expression, and radiate an aura that can only be described as quietly powerful. Done poorly? They can throw off everything, from your makeup harmony to your overall energy.
If eyes are the window to the soul, brows are the architecture around them. And no, we’re not talking about copying a viral brow trend or microblading your way into someone else’s face. We’re talking about enhancing what’s already yours with a few deliberate adjustments that bring out structure, sophistication, and yes, a subtle air of elegance.
Ready for a brow upgrade that feels luxe without the drama? Here’s everything you need to know.
Why Brows Change the Game
Think about the last time you saw someone before and after filling their brows. The difference is often shocking—like makeup’s version of lighting a candle in a dim room. Brows give definition, proportion, and balance. But more than that, they project intention. A well-groomed, tailored brow says, I care about the details. And that’s the essence of looking “expensive”—not flashy, just composed.
Whether you’re going for the soft European arch, the straight Korean boy brow, or something in between, the goal is the same: to create harmony between the brows and your natural bone structure.
Step 1: Assess Your Natural Brow Blueprint
Before grabbing a pencil, take a moment to study your bare brows in natural light.
Ask yourself:
Is the brow too flat or overly arched for your face shape?
Are the heads too far apart, making your nose look wider?
Do the tails droop, pulling your face downward?
Is there asymmetry that’s subtly throwing off your whole look?
This isn’t about chasing perfection—it’s about understanding proportion. Sometimes, all it takes is lifting the tail 2 millimeters or narrowing the space between the brows to instantly change your face’s perceived symmetry.
Step 2: Map With Precision
The best brows start with structure—not guesswork. Use a thin brush or pencil and map three key points:
Start: Line up from the outer side of your nose up to your brow.
Arch: Align from the tip of your nose through your pupil.
Tail: Angle from the edge of your nose past the outer corner of your eye.
This classic mapping technique prevents your brows from looking too short, too long, or too far apart—all common mistakes that can throw off the entire look.
Step 3: Use the Right Tools for a Refined Finish
Great brows are as much about the tools as they are about the technique. If your current pencil is too waxy, too soft, or too warm-toned, it’s time to upgrade.
For Natural Definition:
Anastasia Beverly Hills Brow Wiz: A cult classic for a reason. The fine tip mimics hair strokes effortlessly.
Benefit Precisely, My Brow Pencil: Sharp definition with an ultra-thin tip, great for filling sparse areas.
Hourglass Arch Brow Pencil: Triangular tip for quick yet precise shading—perfect for those on the go.
For Fluffy Volume:
Glossier Boy Brow: Gives texture without stiffness; great for a soft, lived-in brow.
Refy Brow Sculpt: Holds like a dream while still looking natural, perfect for the brushed-up look.
Rose Inc Brow Renew Gel: Tints and lifts brows while nourishing them with squalane.
For Custom Color or Detail Work:
Make Up For Ever Aqua Resist Brow Filler: Waterproof, precise, and buildable—great for all-day polish.
Patrick Ta Major Brow Lamination Gel: Ideal for holding laminated or lifted brows in place, with a feathered finish.
Step 4: Learn the Art of Feathering
One of the fastest ways to elevate your brow look is to ditch the harsh outline. Nothing says “overdrawn” like blocky brows with crisp edges.
Instead, adopt a feathering technique. Use short, upward strokes in the direction of your natural hair growth, especially at the front and top of the arch. This gives the illusion of fuller, real hair and avoids that drawn-on cartoon look.
A few tips:
Start with less pressure and build slowly.
Don’t over-darken the inner brow—it should softly fade.
Use a spoolie often to blend and blur for a more seamless look.
Step 5: Add Dimension with a Brow Powder or Pen
Want to go from “nice brows” to next-level brows? Add dimension.
Use a slightly lighter powder than your brow pencil to softly fill the middle of the brow. This mimics natural shadow and depth.
Alternatively, use a brow pen like the NYX Lift & Snatch or Glossier Brow Flick to draw individual hair strokes in sparse areas.
This layering of product mimics the multi-tonal texture of real hair, creating a more believable, high-end finish.
Step 6: Concealer Cleanup = Instant Lift
This is the secret weapon of makeup artists everywhere: carve the underside of your brows with a flat brush and a creamy concealer.
Choose a shade that matches your skin tone exactly or is just half a shade lighter. This gives structure, lifts the brow bone, and cleans up any mistakes without looking obvious.
Try:
NARS Radiant Creamy Concealer
Maybelline Fit Me Concealer
Dior Backstage Concealer (with brush tip)
The result? A clean, lifted brow that reflects light beautifully and enhances your bone structure without surgery or filters.
Step 7: Don’t Skip Maintenance (But Make It Minimal)
Contrary to popular belief, over-groomed brows don’t look expensive—they look outdated. Leave a bit of fluff. It’s youthful. It’s natural. It’s modern.
But yes—stray hairs that interrupt your shape can be cleaned up every 1–2 weeks. Tweeze sparingly under good light. Avoid trimming the top unless you’re experienced.
Pro tip: Invest in good tweezers like Tweezerman Slant Tweezer and a magnifying mirror to avoid over-plucking disasters.
Bonus: Match Brows to Your Current Hair and Mood
Brows don’t have to stay static. A hair color change, a season shift, or even a new wardrobe aesthetic might call for a brow tone tweak.
If you’ve gone lighter, try toning down your brow products slightly—go from deep brown to taupe, or from black to soft charcoal. For blondes, avoid orange-toned taupes. Look for neutral, ashy hues like those in Kosas Brow Pop or Charlotte Tilbury’s Brow Cheat range.
Less Brows, More Impact
The goal isn’t to make your brows the star of the show—it’s to let them hold the entire structure together. A perfectly adjusted brow won’t scream for attention. It will simply make everything else—from your skin to your eye makeup to your bone structure—look better.
It’s elegance in subtlety. And that’s exactly what makes someone look polished, expensive, and composed.
So next time you’re wondering why your full face of makeup still feels “off,” take a closer look at your brows. You might just realize that a two-minute tweak could change your whole face.